10-Apr-2023
.
Admin
Hi Dev,
Today, i will let you know example of image upload laravel 7. This example will help you laravel 7 image upload with validation.
You will learn image validation in laravel 7. i explained simply step by step image uploading in laravel 7.
You will do the following things for laravel 7 image upload tutorial.
Step 1 : Install Laravel project
In this step you can install fresh laravel project to using bellow command.
composer create-project --prefer-dist laravel/laravel blog
Step 2 : Create Migration & Model
Now you will bellow command to create migration and model in laravel app.
php artisan make:model Image -m
Above command to create one table migration file and one model file.
database/migrations/2019_12_11_111847_create_images_table.php
<?php

use Illuminate\Database\Migrations\Migration;
use Illuminate\Database\Schema\Blueprint;
use Illuminate\Support\Facades\Schema;

class CreateImageTable extends Migration
{
    /**
     * Run the migrations.
     *
     * @return void
     */
    public function up()
    {
        Schema::create('images', function (Blueprint $table) {
            $table->id();
            $table->string('image');
            $table->timestamps();
        });
    }

    /**
     * Reverse the migrations.
     *
     * @return void
     */
    public function down()
    {
        Schema::dropIfExists('images');
    }
}
Bellow command to use migrate your table.
php artisan migrate
Step 3 : Create Controller
In this step create controler file to use bellow command.
php artisan make:controller ImageController
Step 4 : Create Controller method
Create controller after you can put the bellow code in controller file.
app/http/controllers/ImageController
<?php

namespace App\Http\Controllers;

use App\Image;
use Illuminate\Http\Request;

class ImageController extends Controller
{

    public function create()
    {
        return view('create');
    }

    public function store(Request $request)
    {
        $input = $request->all();

        request()->validate([
            'image' => 'required|image|mimes:jpeg,png,jpg,gif,svg|max:2048',

        ]);

        $imageName = time().'.'.request()->image->getClientOriginalExtension();
        $input['image'] = $imageName;
        request()->image->move(public_path('images'), $imageName);

        Image::create($input);
        return back()
                ->with('success','Image Upload Successfully');

    }
}
Step 5 : Create Routes
In this step you will create route in web.php file.
routes/web.php
Route::get('image','ImageController@create')->name('image.create');
Route::post('image','ImageController@store')->name('image.store');
Step 6 : Create View File
In this step you can create blade file in laravel app.
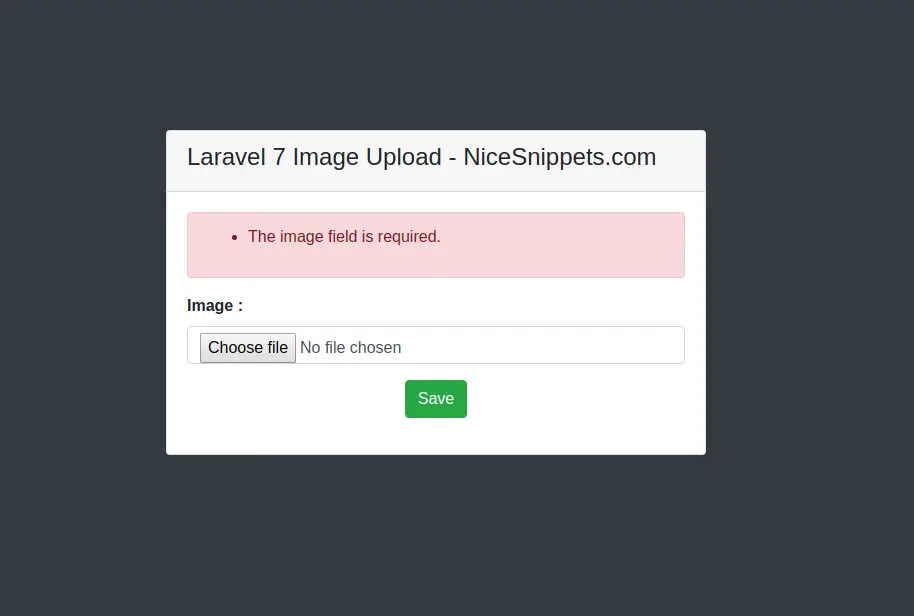
resources/views/create.blade.php
<!DOCTYPE html>
<html>
<head>
    <title>Laravel 7 Image Upload</title>
    <link rel="stylesheet" href="https://cdnjs.cloudflare.com/ajax/libs/twitter-bootstrap/4.4.1/css/bootstrap.min.css" integrity="sha256-L/W5Wfqfa0sdBNIKN9cG6QA5F2qx4qICmU2VgLruv9Y=" crossorigin="anonymous" />
</head>
<body class="bg-dark">
    <div class="container">
        <div class="row">
            <div class="col-md-6 offset-3 mt-5">
                <div class="card">
                    <div class="card-header">
                        <h4>Laravel 7 Image Upload - NiceSnippets.com</h4>
                    </div>
                    <div class="card-body">
                        @if (count($errors) > 0)
                            <div class="alert alert-danger">
                                <ul>
                                    @foreach ($errors->all() as $error)
                                        <li>{{ $error }}</li>
                                    @endforeach
                                </ul>
                            </div>
                        @endif

                        @if ($message = Session::get('success'))
                            <div class="alert alert-success alert-block">
                                <button type="button" class="close" data-dismiss="alert">×</button>
                                <strong>{{ $message }}</strong>
                            </div>
                        @endif

                        <form action="{{ route('image.store') }}" method="post" enctype="multipart/form-data">
                            @csrf
                            <div class="form-group">
                                <label><strong>Image : </strong></label>
                                <input type="file" name="image" class="form-control">
                            </div>
                            <div class="form-group text-center">
                                <input type="submit" class="btn btn-success" name="submit" value="Save">
                            </div>
                        </form>
                    </div>
                </div>
            </div>
        </div>
    </div>
</body>
</html>
It will help you...
#Laravel 7