Laravel Livewire Fullcalendar Integration Tutorial
Teams applying “Laravel Livewire Fullcalendar Integration Tutorial” in a production project can use webcam monitoring to record implementation, review and debugging time, then compare that effort with tests and shipped functionality instead of treating activity as performance by itself.
Before copying the example into a live application, confirm version-specific behaviour with the official Laravel website and test it against the project’s actual database and runtime.
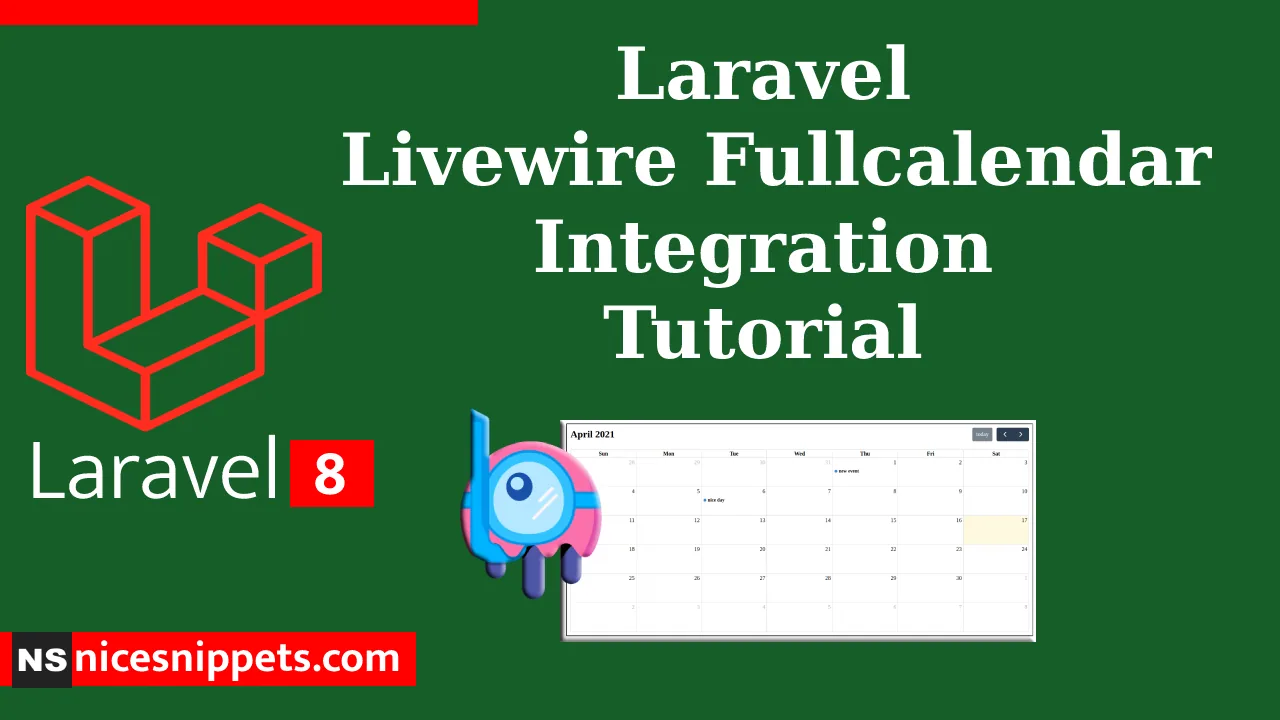
Hi Guys,
Today, I will learn you how to use fullcalendar with livewire example. We will explain step-by-step laravel livewire fullcalendar integration. you can easily make livewire fullcalendar integration in laravel. we will describe laravel livewire fullcalendar integration.
Here, I will give you full example for simply livewire fullcalendar integration in laravel native as bellow.
Step 1 : Install Laravel App
In First step, We need to get fresh laravel version application using bellow command. So Let's open terminal and run bellow command.
composer create-project --prefer-dist laravel/laravel blogStep 2 : Setup Database Configuration
After successfully install laravel app thenafter configure databse setup. We will open ".env" file and change the database name, username and password in the env file.
DB_CONNECTION=mysql
DB_HOST=127.0.0.1
DB_PORT=3306
DB_DATABASE=Enter_Your_Database_Name
DB_USERNAME=Enter_Your_Database_Username
DB_PASSWORD=Enter_Your_Database_Password
Step 3 : Install Livewire
In this step, You will simply install livewire to our laravel application using bellow command:
composer require livewire/livewireStep 4 : Create items Table and Model
In this step we have to create migration for items table using Laravel php artisan command, so first fire bellow command:
php artisan make:model Event -mAfter this command you have to put bellow code in your migration file for create items table.
following path: /database/migrations/2021_04_10_102325_create_events_table.php
<?php
use Illuminate\Database\Migrations\Migration;
use Illuminate\Database\Schema\Blueprint;
use Illuminate\Support\Facades\Schema;
class CreateEventsTable extends Migration
{
    /**
     * Run the migrations.
     *
     * @return void
     */
    public function up()
    {
        Schema::create('events', function (Blueprint $table) {
            $table->id();
            $table->string('title');
            $table->string('start');
            $table->timestamps();
        });
    }
    /**
     * Reverse the migrations.
     *
     * @return void
     */
    public function down()
    {
        Schema::dropIfExists('events');
    }
}
Now we require to run migration be bellow command:
php artisan migrateAfter you have to put bellow code in your model file for create items table.
following path:/app/Models/Event.php
<?php
namespace App\Models;
use Illuminate\Database\Eloquent\Factories\HasFactory;
use Illuminate\Database\Eloquent\Model;
class Event extends Model
{
    use HasFactory;
    /**
     * The attributes that are mass assignable.
     *
     * @var array
     */
    protected $fillable = [
        'title',
        'start',
    ];
}
Step:5 Create Route
In thi step,now, we need to add resource route for livewire fullcalendar integration in application. so open your "routes/web.php" file and add following route.
<?php
use Illuminate\Support\Facades\Route;
use App\Http\Livewire\Calendar;
use App\Models\Event;
/*
|--------------------------------------------------------------------------
| Web Routes
|--------------------------------------------------------------------------
|
| Here is where you can register web routes for your application. These
| routes are loaded by the RouteServiceProvider within a group which
| contains the "web" middleware group. Now create something great!
|
*/
Route::view('/', 'home');
Livewire::component('calendar', Calendar::class);
Step 6 : Create Component
Now, You can create livewire component using bellow command, So Let's run bellow command to create calendar form component:
php artisan make:livewire calendarNow they created fies on both path:
app/Http/Livewire/Calendar.php
resources/views/livewire/calendar.blade.php
Now first file we will update as bellow for Calendar.php file.
app/Http/Livewire/Calendar.php
<?php
namespace App\Http\Livewire;
use Livewire\Component;
use App\Models\Event;
class Calendar extends Component
{
    public $events = '';
    public function getevent()
    {
        $events = Event::select('id','title','start')->get();
        return  json_encode($events);
    }
    /**
    * Write code on Method
    *
    * @return response()
    */
    public function addevent($event)
    {
        $input['title'] = $event['title'];
        $input['start'] = $event['start'];
        Event::create($input);
    }
    /**
    * Write code on Method
    *
    * @return response()
    */
    public function eventDrop($event, $oldEvent)
    {
      $eventdata = Event::find($event['id']);
      $eventdata->start = $event['start'];
      $eventdata->save();
    }
    /**
    * Write code on Method
    *
    * @return response()
    */
    public function render()
    {
        $events = Event::select('id','title','start')->get();
        $this->events = json_encode($events);
        return view('livewire.calendar');
    }
}
Step 7: Create View
Here, we will create blade file for call fullcalendar route. in this file we will use @livewireStyles, @livewireScripts so let's add it
resources/views/home.blade.php
<html>
<head>
    @livewireStyles
</head>
<body>
    <livewire:calendar />
    @livewireScripts
    @stack('scripts')
</body>
</html>
after,I will create calendar componet blade file.
resources/views/livewire/calendar.blade.php
<style>
    #calendar-container{
        width: 100%;
    }
    #calendar{
        padding: 10px;
        margin: 10px;
        width: 1340px;
        height: 610px;
        border:2px solid black;
    }
</style>
<div>
  <div id='calendar-container' wire:ignore>
    <div id='calendar'></div>
  </div>
</div>
@push('scripts')
    <script src='https://cdn.jsdelivr.net/npm/[email protected]/main.min.js'></script>


    <script>
        document.addEventListener('livewire:load', function() {
            var Calendar = FullCalendar.Calendar;
            var Draggable = FullCalendar.Draggable;
            var calendarEl = document.getElementById('calendar');
            var checkbox = document.getElementById('drop-remove');
            var data =   @this.events;
            var calendar = new Calendar(calendarEl, {
            events: JSON.parse(data),
            dateClick(info)  {
               var title = prompt('Enter Event Title');
               var date = new Date(info.dateStr + 'T00:00:00');
               if(title != null && title != ''){
                 calendar.addEvent({
                    title: title,
                    start: date,
                    allDay: true
                  });
                 var eventAdd = {title: title,start: date};
                 @this.addevent(eventAdd);
                 alert('Great. Now, update your database...');
               }else{
                alert('Event Title Is Required');
               }
            },
            editable: true,
            selectable: true,
            displayEventTime: false,
            droppable: true, // this allows things to be dropped onto the calendar
            drop: function(info) {
                // is the "remove after drop" checkbox checked?
                if (checkbox.checked) {
                // if so, remove the element from the "Draggable Events" list
                info.draggedEl.parentNode.removeChild(info.draggedEl);
                }
            },
            eventDrop: info => @this.eventDrop(info.event, info.oldEvent),
            loading: function(isLoading) {
                    if (!isLoading) {
                        // Reset custom events
                        this.getEvents().forEach(function(e){
                            if (e.source === null) {
                                e.remove();
                            }
                        });
                    }
                }
            });
            calendar.render();
            @this.on(`refreshCalendar`, () => {
                calendar.refetchEvents()
            });
        });
    </script>
    <link href='https://cdn.jsdelivr.net/npm/[email protected]/main.min.css' rel='stylesheet' />
@endpush
Now we are ready to run our example so run bellow command for quick run:
php artisan serveNow you can open bellow URL on your browser:
http://localhost:8000/It will help you..
- How to Notifications With database Driver in Laravel 11?
- How to Send Email Via Notification in Laravel 11?
- How to Install and Configure Laravel 11 Debugbar?
- How to Like Dislike System in Laravel 11?
- How to Paginate a Model with Relationship in Laravel 11?
- Laravel 11 Upload Files to Amazon S3 Example
- Laravel 11 Send WhatsApp Messages Example
- Laravel 11 Rest API Authentication Using JWT Tutorial