21-Mar-2024
.
Admin

Hi, Dev
In this guide, I'll demonstrate how to employ AJAX to upload an image within a Laravel 11 application.
We'll start by crafting an "images" table, housing a column for the image name. Following that, we'll fashion a form equipped with a file input field. Upon submission, this form will dispatch the image through a jQuery AJAX request, consequently storing it both in a designated folder and the database.
Let's delve into a straightforward illustration and proceed with the following steps to execute an AJAX image upload example in Laravel 11:
Step for How to Ajax Image Upload in Laravel 11?
Step 1: Install Laravel 11
Step 2: Create Migration and Model
Step 3: Create Controller
Step 4: Create Routes
Step 5: Create Blade File
Run Laravel App
Step 1: Install Laravel 11
This step is not required; however, if you have not created the Laravel app, then you may go ahead and execute the below command:
composer create-project laravel/laravel example-app
Step 2: Create Migration and Model
Here, we will create a migration for the "images" table. Let's run the below command and update the code.
php artisan make:migration create_images_table
database/migrations/2024_03_21_140040_create_images_table.php
<?php

use Illuminate\Database\Migrations\Migration;
use Illuminate\Database\Schema\Blueprint;
use Illuminate\Support\Facades\Schema;

return new class extends Migration
{
    /**
     * Run the migrations.
     *
     * @return void
     */
    public function up(): void
    {
        Schema::create('images', function (Blueprint $table) {
            $table->id();
            $table->string('name');
            $table->timestamps();
        });
    }

    /**
     * Reverse the migrations.
     *
     * @return void
     */
    public function down(): void
    {
        Schema::dropIfExists('images');
    }
};
Next, run to create a new migration using Laravel's migration command as follows:
php artisan migrate
Now, we will create the Image model using the following command:
php artisan make:model Image
app/Models/Image.php
<?php

namespace App\Models;

use Illuminate\Database\Eloquent\Factories\HasFactory;
use Illuminate\Database\Eloquent\Model;

class Image extends Model
{
    use HasFactory;

    protected $fillable = [
        'name'
    ];
}
Step 3: Create Controller
In this step, we will create a new `ImageController`. In this file, we will add two methods: `index()` and `store()`, for rendering views and storing images into a folder and the database.
Let's create the `ImageController` by following this command:
php artisan make:controller ImageController
Next, let's update the following code to the Controller file.
app/Http/Controllers/ImageController.php
<?php

namespace App\Http\Controllers;

use Illuminate\Http\Request;
use App\Models\Image;
use Illuminate\View\View;
use Illuminate\Http\JsonResponse;

class ImageController extends Controller
{
    /**
     * Display a listing of the resource.
     *
     * @return \Illuminate\Http\Response
     */
    public function index(): View
    {
        return view('imageUpload');
    }

    /**
     * Display a listing of the resource.
     *
     * @return \Illuminate\Http\Response
     */
    public function store(Request $request): JsonResponse
    {
        // Validation
        $request->validate([
            'image' => 'required|image|mimes:jpeg,png,jpg,gif,svg|max:2048'
        ]);

        $imageName = time().'.'.$request->image->extension();

        $request->image->move(public_path('images'), $imageName);

        Image::create(['name' => $imageName]);

        return response()->json(['success' => 'Images uploaded successfully!']);
    }
}
Store Images in Storage Folder
$image->storeAs('images', $imageName);

// storage/app/images/file.png
Store Images in Public Folder
$image->move(public_path('images'), $imageName);

// public/images/file.png
Store Images in S3
$image->storeAs('images', $imageName, 's3');
Step 4: Create Routes
Furthermore, open `routes/web.php` file and add the routes to manage GET and POST requests for rendering views and storing image logic.
routes/web.php
<?php

use Illuminate\Support\Facades\Route;

use App\Http\Controllers\ImageController;

Route::get('image-upload', [ImageController::class, 'index']);
Route::post('image-upload', [ImageController::class, 'store'])->name('image.store');
Step 5: Create Blade File
At the last step, we need to create an imageUpload.blade.php file. In this file, we will create a form with a file input button and write jQuery AJAX code. So, copy the code below and paste it into that file.
resources/views/imageUpload.blade.php
<!DOCTYPE html>
<html>
<head>
<title>Laravel 11 Ajax Image Upload Example - NiceSnippets.com</title>
<link href="https://cdn.jsdelivr.net/npm/bootstrap@5.0.2/dist/css/bootstrap.min.css" rel="stylesheet" crossorigin="anonymous">
<link rel="stylesheet" href="https://cdnjs.cloudflare.com/ajax/libs/font-awesome/6.5.1/css/all.min.css" />
<script src="https://cdnjs.cloudflare.com/ajax/libs/jquery/3.6.0/jquery.min.js"></script>
</head>
<body>
<div class="container">
<div class="card mt-5">
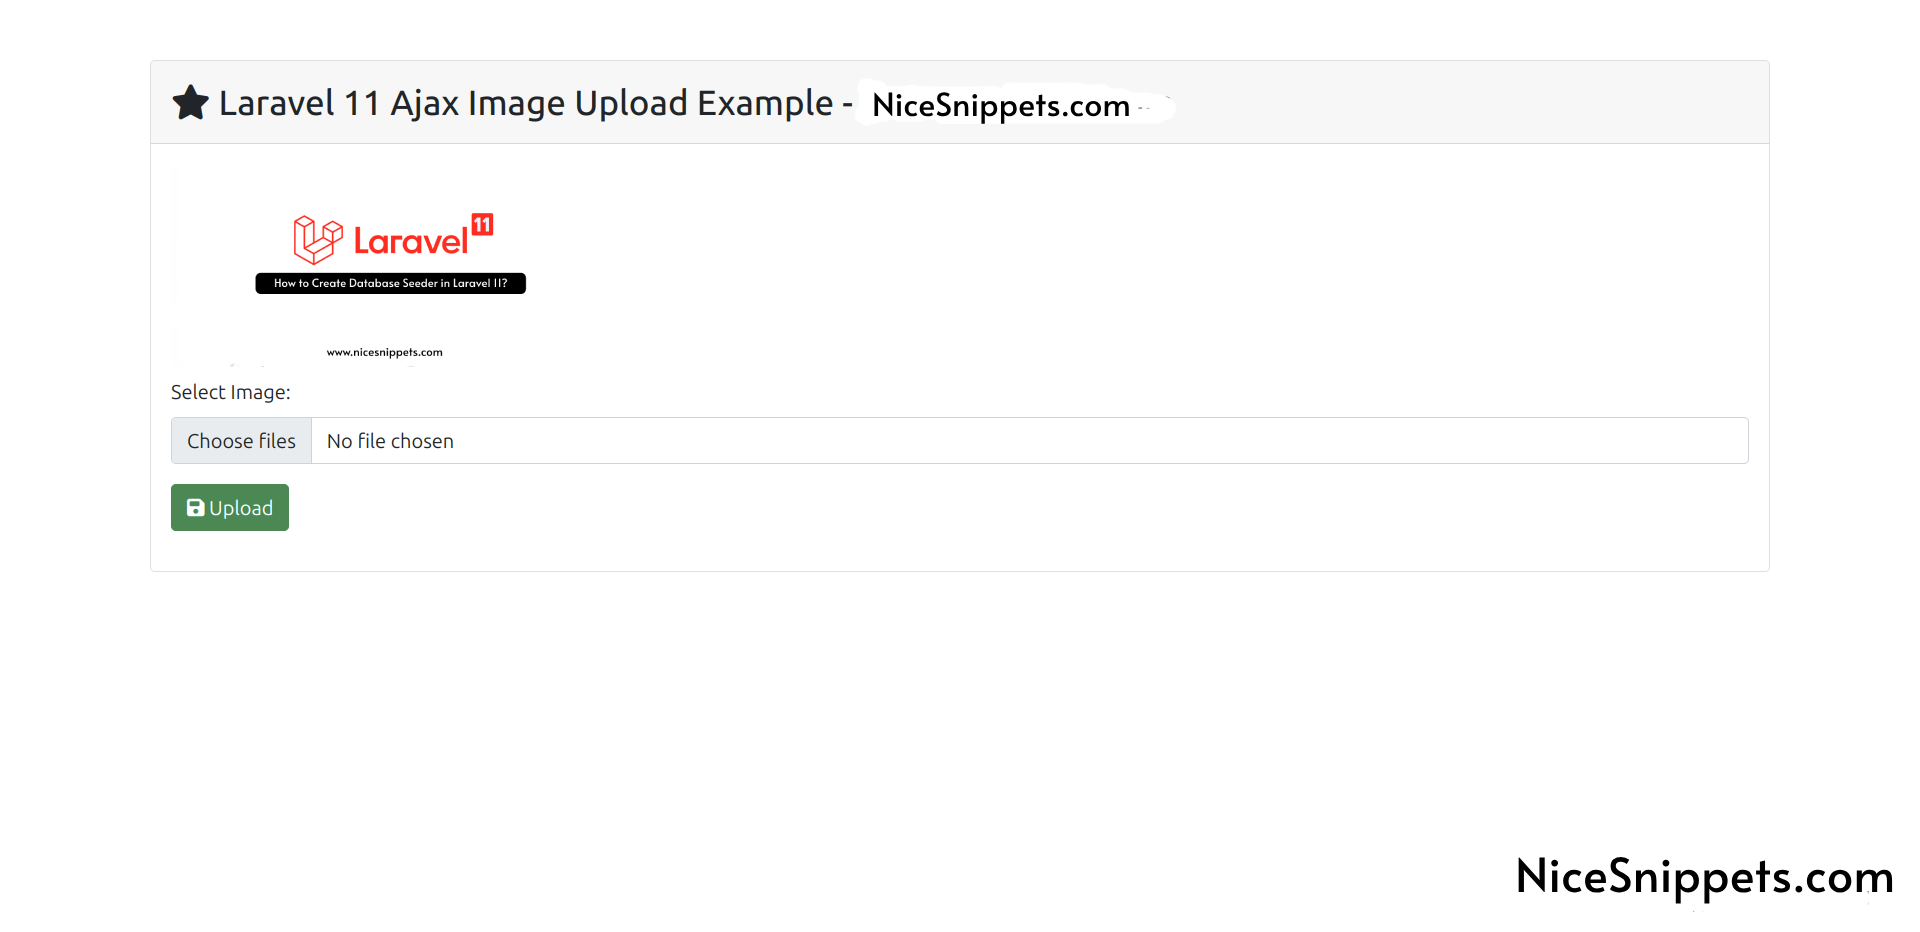
<h3 class="card-header p-3"><i class="fa fa-star"></i> Laravel 11 Ajax Image Upload Example - NiceSnippets.com</h3>
<div class="card-body">
<img id="preview-image" width="300px">
<form action="{{ route('image.store') }}" method="POST" enctype="multipart/form-data" class="mt-2" id="image-upload">
@csrf
<div class="alert alert-danger print-error-msg" style="display:none">
<ul></ul>
</div>
<div class="mb-3">
<label class="form-label" for="inputImage">Select Image:</label>
<input
type="file"
name="image"
id="inputImage"
multiple
class="form-control @error('images') is-invalid @enderror">
@error('images')
<span class="text-danger">{{ $message }}</span>
@enderror
</div>
<div class="mb-3">
<button type="submit" class="btn btn-success"><i class="fa fa-save"></i> Upload</button>
</div>
</form>
</div>
</div>
</div>
</body>
<script type="text/javascript">
/*------------------------------------------
--------------------------------------------
File Input Change Event
--------------------------------------------
--------------------------------------------*/
$('#inputImage').change(function(){
let reader = new FileReader();
reader.onload = (e) => {
$('#preview-image').attr('src', e.target.result);
}
reader.readAsDataURL(this.files[0]);
});
/*------------------------------------------
--------------------------------------------
Form Submit Event
--------------------------------------------
--------------------------------------------*/
$('#image-upload').submit(function(e) {
e.preventDefault();
let formData = new FormData(this);
$('#image-input-error').text('');
$.ajax({
type:'POST',
url: "{{ route('image.store') }}",
data: formData,
contentType: false,
processData: false,
success: (response) => {
this.reset();
alert('Image has been uploaded successfully');
},
error: function(response){
$('#image-upload').find(".print-error-msg").find("ul").html('');
$('#image-upload').find(".print-error-msg").css('display','block');
$.each( response.responseJSON.errors, function( key, value ) {
$('#image-upload').find(".print-error-msg").find("ul").append('<li>'+value+'</li>');
});
}
});
});
</script>
</html>
Run Laravel App:
All the required steps have been done, now you have to type the given below command and hit enter to run the Laravel app:
php artisan serve
Now, Go to your web browser, type the given URL and view the app output:
http://localhost:8000/image-upload
Output:
I hope it can help you...
#Laravel 11
