24-Apr-2024
.
Admin

Hi, Dev
In this guide, I'll demonstrate how to enable image uploading within the Summernote editor in your Laravel 11 application.
Summernote is a user-friendly WYSIWYG (What You See Is What You Get) editor designed for web pages. Leveraging the jQuery framework, it offers an open-source solution for creating, editing, and formatting text effortlessly within a browser.
In this guide, we'll walk through the process of setting up a posts table in your database, complete with title and body columns. We'll then craft a form featuring input fields for the title and a Summernote rich text box for the body, allowing users to easily input and format their content before saving it to the database.
Let's dive into the steps below:
Step for How to Image Upload with Summernote in Laravel 11?
Step 1: Install Laravel 11
Step 2: Create posts Table and Model
Step 3: Create Routes
Step 4: Create Controller
Step 5: Create Blade File
Run Laravel App
Step 1: Install Laravel 11
This step is not required; however, if you have not created the Laravel app, then you may go ahead and execute the below command:
composer create-project laravel/laravel example-app
Step 2: Create posts Table and Model
In the first step, we need to create a new migration for adding a "posts" table.
php artisan make:migration create_posts_table
database/migrations/2024_02_17_133331_create_posts_table.php
<?php

use Illuminate\Database\Migrations\Migration;
use Illuminate\Database\Schema\Blueprint;
use Illuminate\Support\Facades\Schema;

return new class extends Migration
{
    /**
     * Run the migrations.
     *
     * @return void
     */
    public function up(): void
    {
        Schema::create('posts', function (Blueprint $table) {
            $table->id();
            $table->string('title');
            $table->text('body');
            $table->timestamps();
        });
    }

    /**
     * Reverse the migrations.
     *
     * @return void
     */
    public function down(): void
    {
        Schema::dropIfExists('posts');
    }
};
Now, let's run the migration command:
php artisan migrate
Now, just create a post model and add code as below:
app/Models/Post.php
<?php

namespace App\Models;

use Illuminate\Database\Eloquent\Factories\HasFactory;
use Illuminate\Database\Eloquent\Model;
use Illuminate\Database\Eloquent\Casts\Attribute;

class Post extends Model
{
    use HasFactory;

    /**
     * Write code on Method
     *
     * @return response()
     */
    protected $fillable = [
        'title', 'body'
    ];

    /**
     * Get the user's first name.
     */
    protected function body(): Attribute
    {
        return Attribute::make(
            set: fn (string $value) => $this->makeBodyContent($value),
        );
    }

    /**
     * Write code on Method
     *
     * @return response()
     */
    public function makeBodyContent($content)
    {
        $dom = new \DomDocument();
        $dom->loadHtml($content, LIBXML_HTML_NOIMPLIED | LIBXML_HTML_NODEFDTD);
        $imageFile = $dom->getElementsByTagName('img');

        foreach($imageFile as $item => $image){
            $data = $image->getAttribute('src');
            list($type, $data) = explode(';', $data);
            list(, $data)      = explode(',', $data);
            $imgeData = base64_decode($data);
            $image_name= "/uploads/" . time().$item.'.png';
            $path = public_path() . $image_name;
            file_put_contents($path, $imgeData);

            $image->removeAttribute('src');
            $image->setAttribute('src', $image_name);
        }

        return $dom->saveHTML();
    }
}
Step 3: Create Routes
In this step, we need to create some routes for listing posts and creating posts.
routes/web.php
<?php

use Illuminate\Support\Facades\Route;

use App\Http\Controllers\PostController;

Route::get('posts/create',[PostController::class,'create']);
Route::post('posts/store',[PostController::class,'store'])->name('posts.store');
Step 4: Create Controller
In this step, in this file, we write image upload code. The image will upload to the "uploads" folder in the public directory. We need to create a PostController and add the following code to that file:
app/Http/Controllers/PostController.php
<?php

namespace App\Http\Controllers;

use Illuminate\Http\Request;
use App\Models\Post;
use Illuminate\View\View;
use Illuminate\Http\RedirectResponse;

class PostController extends Controller
{

    /**
     * Write code on Method
     *
     * @return response()
     */
    public function create(): View
    {
        return view('postsCreate');
    }

    /**
     * Write code on Method
     *
     * @return response()
     */
    public function store(Request $request): RedirectResponse
    {
        $this->validate($request, [
             'title' => 'required',
             'body' => 'required'
        ]);

        $post = Post::create([
            'title' => $request->title,
            'body' => $request->body
        ]);

        return back()
                ->with('success','Post created successfully.');
    }
}
Step 5: Create Blade File
Here, we need to create a Blade file for the create form. So let's create one file.
resources/views/postsCreate.blade.php
<!DOCTYPE html>
<html lang="{{ str_replace('_', '-', app()->getLocale()) }}">
<head>
    <meta charset="utf-8">
    <meta name="viewport" content="width=device-width, initial-scale=1">
    <title>How to Use Summernote Image Upload in Laravel 11? - NiceSnippets.com</title>
    <link href="https://cdn.jsdelivr.net/npm/bootstrap@5.0.0/dist/css/bootstrap.min.css" rel="stylesheet">
    <link rel="stylesheet" href="https://cdnjs.cloudflare.com/ajax/libs/summernote/0.8.20/summernote-bs5.min.css" />
</head>

<body>
<div class="container">
    <div class="card mt-5">
        <h3 class="card-header p-3">How to Use Summernote Image Upload in Laravel 11? - NiceSnippets.com</h3>
        <div class="card-body">
            <form method="post" action="{{ route('posts.store') }}" enctype="multipart/form-data">
                @csrf
                <div class="form-group">
                    <label>Title</label>
                    <input type="text" name="title" class="form-control" />
                </div>
                <div class="form-group">
                    <label>Description</label>
                    <textarea id="summernote" name="body"></textarea>
                </div>
                <div class="form-group mt-2">
                    <button type="submit" class="btn btn-success btn-block">Publish</button>
                </div>
            </form>
        </div>
    </div>
</div>

<script src="https://ajax.googleapis.com/ajax/libs/jquery/3.5.1/jquery.min.js"></script>
<script src="https://cdn.jsdelivr.net/npm/bootstrap@5.0.0/dist/js/bootstrap.min.js"></script>
<script src="https://cdnjs.cloudflare.com/ajax/libs/summernote/0.8.20/summernote-bs5.min.js"></script>

<script type="text/javascript">
    $(document).ready(function () {
        $('#summernote').summernote({
            height: 300,
        });
    });
</script>

</body>
</html>
Run Laravel App:
All the required steps have been done, now you have to type the given below command and hit enter to run the Laravel app:
php artisan serve
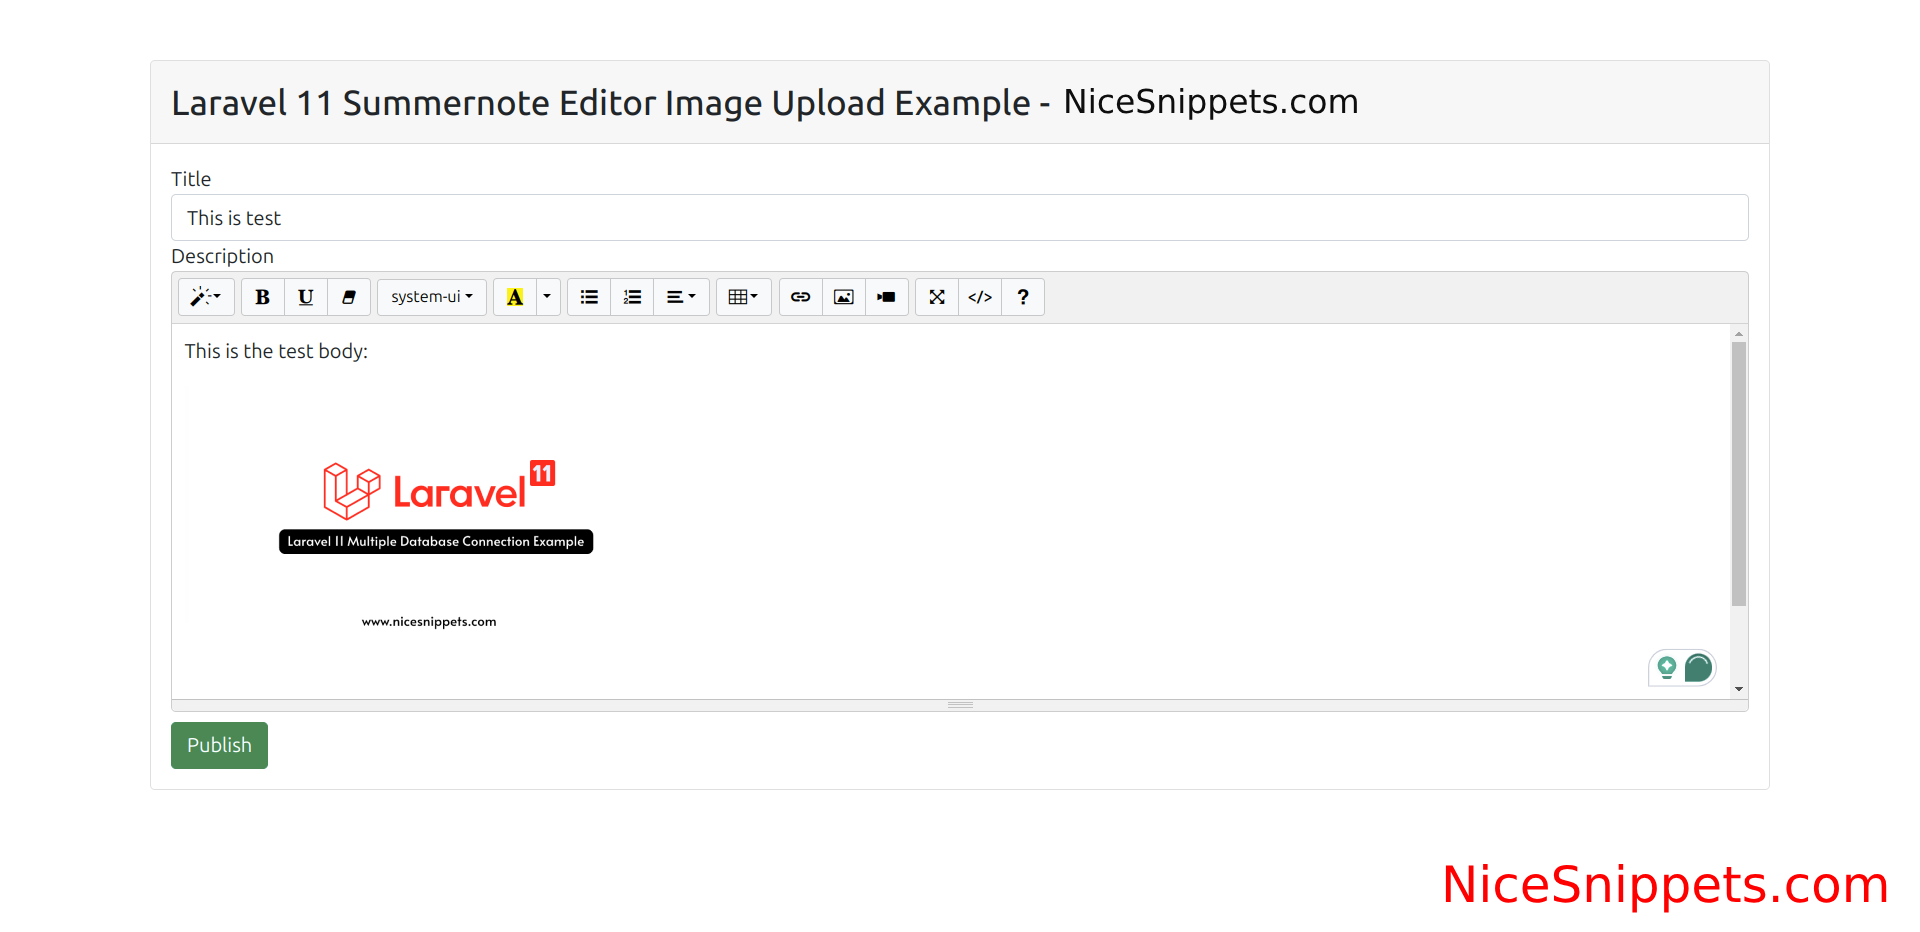
Now, Go to your web browser, type the given URL and view the app output:
http://localhost:8000/posts/create
Output:
I hope it can help you...
#Laravel 11
